Lighting for talking-head video
One large soft light in front of your face does more than a three-light kit arranged badly. Here is what each light is actually for, and which mistakes read as amateur.
8 minute read

If you do one thing, do this
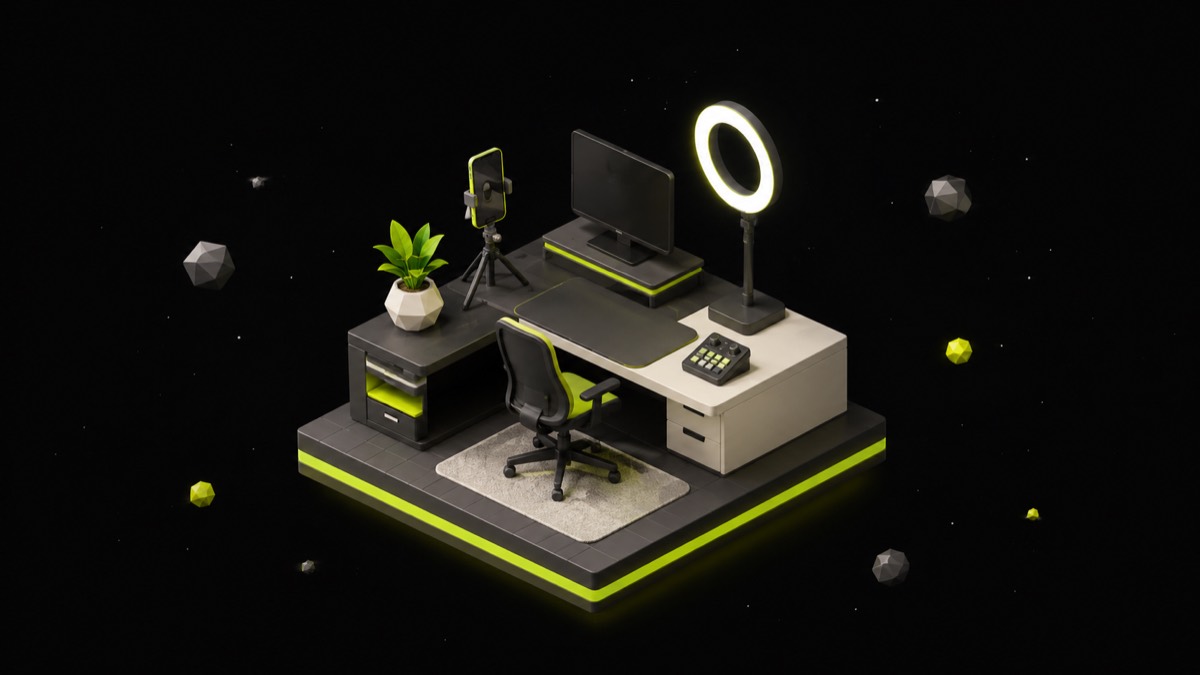
Put one large, soft light in front of you, slightly above eye level and slightly off to one side, close enough that it fills a decent part of your field of view. That single decision accounts for most of the visible gap between home video and professional-looking video. Everything else in this article is refinement of it: what a second and third light add, how to get softness without spending money, and which specific choices actively make you look worse. If you are lighting a seated talking-head shot and you are choosing between buying a three-light kit and moving your existing light closer with a diffuser in front of it, move the light.
Key, fill and back, in plain terms
The key is your main light and the one that determines how the shot looks; B&H's guide to three-point portraiture places it at roughly 45 degrees to the subject as a starting point. The fill sits on the opposite side and only exists to lift the shadow side so it does not go black — it is usually the least important light and can be a white foam board bouncing the key back at you rather than a fixture. The back light points at you from behind and slightly above, and its job is separation: it puts a rim on your hair and shoulders so you do not merge into a dark background. B&H notes there is no correct key-to-fill ratio, though roughly twice as much key as fill is a common starting point; less contrast reads friendly, more reads serious.
Big and close beats bright and far
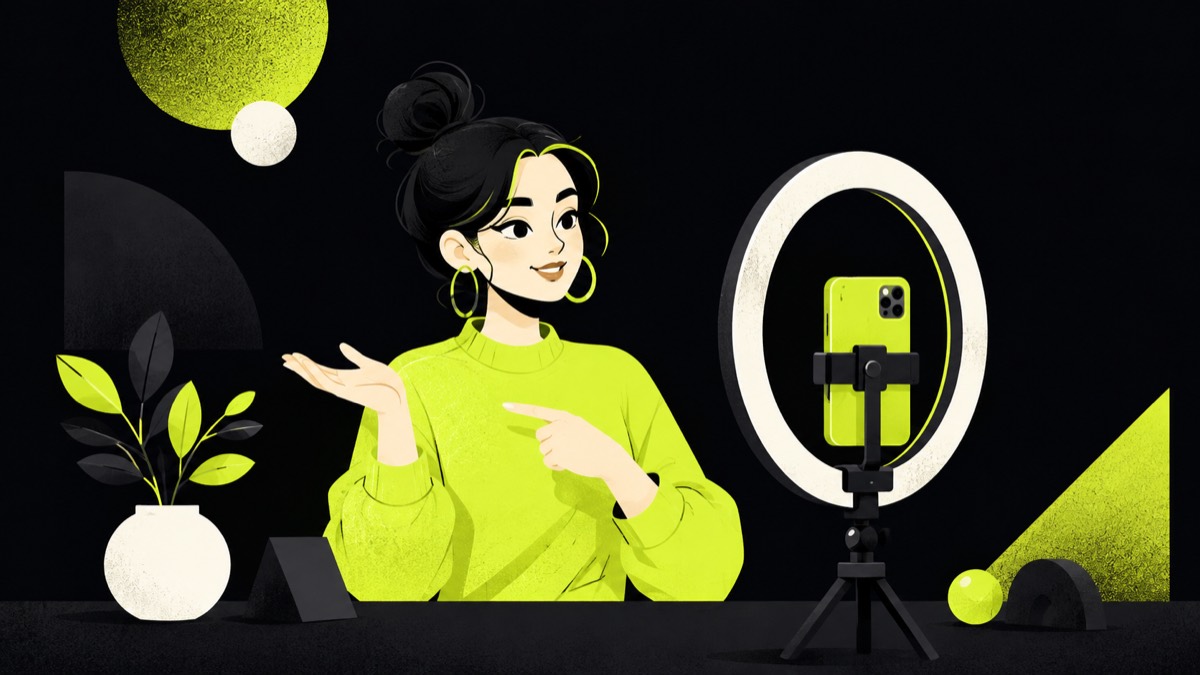
Softness has one cause: the apparent size of the light source relative to you. A bare bulb or a small LED panel is physically tiny from where you are sitting, so it throws hard-edged shadows with a sharp line under the nose and jaw. The same panel with a diffuser on it, moved to arm's length, becomes a large source and the shadow edges soften. Distance works against you twice over, because light follows the inverse square law — double the distance and you get roughly a quarter of the light. That means moving a modest light closer makes it both softer and brighter at once, which is why an inexpensive panel used properly outperforms an expensive one parked across the room.
A window is a legitimate key light
A window is large, free, and usually higher quality than a budget LED. Sit facing it, or at a shallow angle to it, and you have a soft key with no purchase required. A net curtain over it makes the source even larger and more even. The two failure modes are simple: never put the window behind you, because the camera exposes for the bright background and turns you into a silhouette, and never mix window light with warm room lamps, because you end up half daylight and half tungsten and no white balance setting fixes both halves. The real limitation is not quality, it is scheduling. Daylight moves, clouds change it mid-take, and in winter it is gone by late afternoon. Window light is a great key for a hobby and an unreliable one for a publishing schedule.
Why your ceiling light is the problem
Overhead room lighting fails in a specific, diagnosable way. The source is small, hard, directly above you and usually slightly behind, so it lands on the forehead and the tops of the cheekbones and drops shadows straight into the eye sockets, under the nose and under the chin. That is the look people describe as raccoon eyes, and it flattens your features while making you look tired. Beverly Boy's guidance on top light is to keep the key no more than about 30 degrees above eye level and to lift the shadows with a fill or a reflector opposite. In practice the better move at home is to switch the ceiling light off entirely rather than try to balance against it, and let a front source do all the work.
Colour quality is where cheap lights actually lose
Brightness is easy to manufacture; accurate colour is not. The usual number on the box is CRI, but the headline CRI average leaves out R9, the deep red patch, and deep red is exactly what skin tone depends on — a light can advertise CRI 95 and still render faces muddy. The European Broadcasting Union published the Television Lighting Consistency Index in 2012 for this reason: rather than measure the light as your eye sees it, TLCI models a television camera and display, averaging 24 ColorChecker patches into a score out of 100. Videomaker's explainer makes the same underlying point, which is that sensors and eyes disagree about light. When comparing fixtures, look for a published R9 figure and a TLCI score, not a bare CRI claim.
Flicker, dimming and the two settings that ruin takes
Two technical traps catch people who have otherwise lit the shot well. The first is flicker banding: many LED fixtures dim by switching on and off very fast, and mains-powered lights pulse at the frequency of the grid, which is 50 Hz across much of Europe and Asia and 60 Hz in North America. When that pulsing falls out of step with your camera's rolling shutter you get horizontal bands rolling through the frame. The fix is to keep shutter speed a multiple of the mains frequency, or to raise the fixture's PWM frequency if it exposes that setting. The second trap is that cheaper LEDs shift colour as you dim them, so set your exposure with distance and diffusion first and use the dimmer last.
Make the setup repeatable, then stop thinking about it
The lighting you use every week beats the lighting you perfect once. Mark the light stand positions on the floor, write down the settings, and check the same three things before every take: no reflection of the panel in your glasses, a visible catchlight in your eyes, and no bright window creeping into frame behind you. It also pays to check how the frame survives a vertical crop, since a background that reads fine in 16:9 can put a lamp or a hard shadow right through the middle of a 9:16 clip — worth knowing before you reframe an episode into shorts with something like FrameOS. Consistent lighting is also what makes a channel look coherent when a viewer scrolls three of your clips in a row.
FAQ
What is the best lighting setup for talking-head video?
One large, soft key light in front of you, slightly above eye level and slightly to one side, is the core of it. Add a white board or second light opposite to lift the shadow side, and a light behind you only if you need separation from a dark background. Position matters far more than the number of fixtures.
Is window light good enough for video?
Yes, as a key. A window is a physically large source, which is exactly what makes light soft, and a net curtain improves it further. Face it rather than sitting in front of it, and do not mix it with warm room lamps. The catch is consistency: daylight changes through the day and disappears in winter, so a regular schedule eventually needs an artificial key.
Why do I look bad under my ceiling light?
Because it is a small, hard source directly above and usually behind you. It lights the forehead and cheekbones and drops shadow into the eye sockets, under the nose and under the chin. Switch it off and use a soft source in front of you, kept within roughly 30 degrees of eye level, rather than trying to balance against it.
Does CRI matter when buying a video light?
It matters, but it is not sufficient. The CRI average excludes R9, the deep red value that drives skin tone, so a fixture can score highly and still render faces poorly. The EBU created TLCI in 2012 specifically because cameras see light differently from eyes. Prefer lights that publish both an R9 figure and a TLCI score.
Sources
- Three-Point Portraiture Lighting and Beyond · B&H eXplora
- Television Lighting Consistency Index 2012 · European Broadcasting Union
- Understanding CRI & TLCI: The importance of color rendition · Videomaker
- The Inverse Square Law and Why It Is So Important for Lighting · Fstoppers
- Top Light Done Right: Avoiding Racoon Eyes · Beverly Boy Productions
Related pages
Keep reading
More Creator Growth →How to use Twitter (X) in 2026
Most guides to this platform describe features that no longer exist. Communities shut down in May 2026, DMs became Chat, and the home screen now has more than two tabs.
9 minute readHow the X (Twitter) algorithm actually works
X is the only large platform that publishes the code ranking its main feed. It also had to add a comment to that code correcting the most-repeated claim about it.
9 minute readHow to use Pinterest: the setup, the formats and the search mindset
Pinterest reported 640 million monthly active users in its Q2 2026 results, and almost none of them are scrolling a friend feed — they are searching. That changes what you publish, how you title it, and how long it keeps working.
8 minute readTurn one long video into a week of posts
300 credits for 3 days · no card
Start free